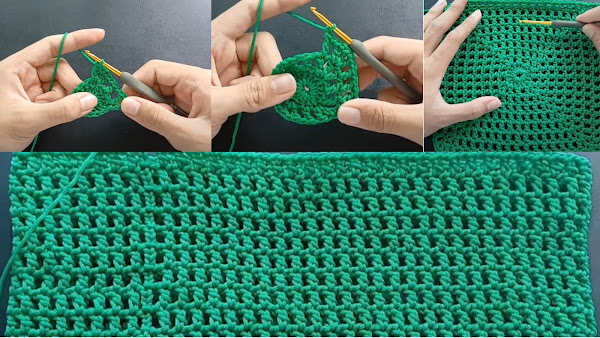
Crochet bag tutorial | DIY crochet market bag🌸
🧶 Materials Needed
1 Worsted‑weight yarn (main color + optional accent)
2 Crochet hook 4 mm / G‑6
3 Scissors and tapestry needle
Step 1: Start with a Magic Ring
Form a loop with your yarn, overlapping it to create a ring. Insert hook into ring, yarn over (YO), pull up a loop. Chain 1 to secure the ring.
Step 2: Crochet the Base in the Round
Work 8 single crochets (SC) into the magic ring. Pull the tail to close the circle tightly. Slip‑stitch (SL ST) to join the round.
Step 3: Increase the Base
Round 2: Chain 1, 2 SC in each stitch around (total: 16 SC). Join with SL ST.
Round 3: Chain 1, 1 SC in first stitch, 2 SC in next around (total: 24 SC). Join.
Continue increasing in this evenly spaced pattern until your circle reaches the desired bag bottom diameter (video uses ~6 inches / 15 cm). Typically increase every other stitch until size is right.
Step 4: Build Up the Sides
Once the base is done, stop increasing. Chain 1, then SC in each stitch around. Join with SL ST. Repeat side rounds until the side height matches the video (approx. 6–8 cm). Video alternates colors or adds an accent round near the top.
Step 5: Add Texture or Patterns (Optional)
You can switch to half‑double or double crochet; video demonstrates adding an accent round using double crochet (DC) to add texture. To change color: finish the last stitch of the previous row with the new yarn.
Step 6: Create Handles
The video demonstrates two handle styles:
Option A: Simple Side Handles
On the desired round, chain a length (e.g., 8 chains) to create a “window.” Skip the same number of SC stitches, then SC in next stitch, join and continue around. On the next round, SC into each SC and SC‑chain loop to reinforce handle.
Option B: Top‑attached Handles
After finishing side‑wall, break yarn. Rejoin at top‑edge position, chain a handle length (20–25 ch). Skip same number of stitches and SC to next join point. On next round, SC around the chain and top edge for sturdiness.
Step 7: Finish & Weave in Ends
Once handles are done and you've reached your desired height, slip‑stitch to finish. Cut yarn, leaving a tail; pull through final loop. Use tapestry needle to weave in all loose ends inside the bag.
Step 8: Optional – Line or Stiffen Your Bag
For a more durable bag, add a sewn fabric lining or apply a craft fabric stiffener on the inside following the manufacturer's instructions.
Quick Tips from the Video
Always pull magic ring tight to avoid gaps. Count stitches each round to maintain shape. Try on your dimensions mid‑crochet to adjust height or handle length. Use consistent tension, especially when switching stitch types.
Summary Table
| Stage | Action |
|---|---|
| Base | Magic ring → increase rounds → flat circle |
| Sides | SC rounds until height reached |
| Accent/Texture | Optional DC/half‑DC rounds with color change |
| Handles | Chain loops or top handles reinforced with SC |
| Finishing | Slip stitch, cut & weave ends, optionally line |
Full Video Tutorial:
Thank you for visit our site. Have a nice day!
.jpeg)

.jpeg)
.jpeg)
.jpeg)
.jpeg)
Comments
Post a Comment